Koha Web Installation Guide!
When someone looking for automated library software Koha is the best choice now a day. It is free and open source software package. After complete the installation of Koha through terminal, it is an important job for institutions to set up web installation and Library rules creation. Here, in this article, we are going to discuss step by step about how to do web installation of koha. For Koha installation check here
Step - 1 : Log in through ID and Password.
Log in through administrator ID and password given at the koha-conf.xml.
Step - 2 : Choose Language.
Select desired language and click on continue to the next step.
Step - 3 : Check Perl Dependencies
It will automatically check perl dependencies. Click on continue to the next step.
Step - 4 : Database Setup
It will automatically listed previous database settings which was configured at the time of installation.
Step - 5 : Database Connection Settings
It will automatically connect to database.
Step - 6 : Set Up Database
Step - 7 : Database Table Creation
It will create database tables
Step - 8 : Install Basic Configuaration Settings
Step - 9 : Set Up Marc Format for Record Entry
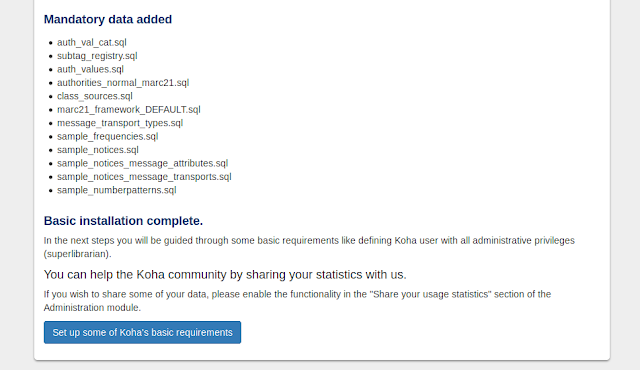
Step - 10 : Import Files
Import almost all files to the database except sample libraries and sample patrons because we need to enter our library name and register our patrons for our library.
Step - 11 : Set up Some Koha's basic Requirements
Step - 12 : Installation Complete
Now installation complete and it will automatically redirected to the login page after 10 seconds.


No comments: